After years of storms, sun, dirt, and debris, it’s common for the effects of these things to start showing on your home’s siding. Fortunately, you can fix many of these issues with something as simple as a yearly cleaning. Washing your vinyl siding is essential to removing substances that speed up its deterioration rate. So, in using these helpful tips for cleaning and protecting vinyl siding, you can make it last for much longer and keep your home looking its best.
Prepare the Surrounding Area
Before you start washing, you should first prepare the entire area around the base of your home. Cleaning your siding requires a lot of movement around the perimeter of the house. As such, the chances are greater that your plants and ornaments that sit nearby will sustain damages in the process. For this reason, we highly recommend that you cover all items in the vicinity with a tarp or move them to a different location.
Acquire the Right Cleaners
You should also spend some time finding the right type of cleaner for your home. There are various types of home siding, which means that there are also several different cleaning mixtures to choose from. Those that might work well on wooden materials might inadvertently harm vinyl and not give you the results you’re hoping for. Therefore, choosing the right ingredients will be vital to making your siding last. For vinyl specifically, mixtures made of water, vinegar, or bleach are often the most effective.
Power Wash With Care
Another important tip for cleaning and protecting your vinyl siding is to be careful when using a power washer. Though these devices are wonderful for rinsing a large area in a short amount of time, they can also cause unwanted damage in the process. Because of this, it’s important that you keep the pressure setting low and that you check for any peeling after power washing. Doing so will ensure that damage is minimal and that you attain the fresh, clean look you envision.
However, if cleanings are no longer getting the results you want, it might be time to consider a siding replacement. At Bear Mountain Custom Painting, we specialize in everything from interior painting to exterior siding and gutter work. Our siding installation services in Cumming, GA, in particular, promise beautiful and protective results that will last for years to come with the proper maintenance. So, every wash will leave your siding just as attractive as the day it was mounted.
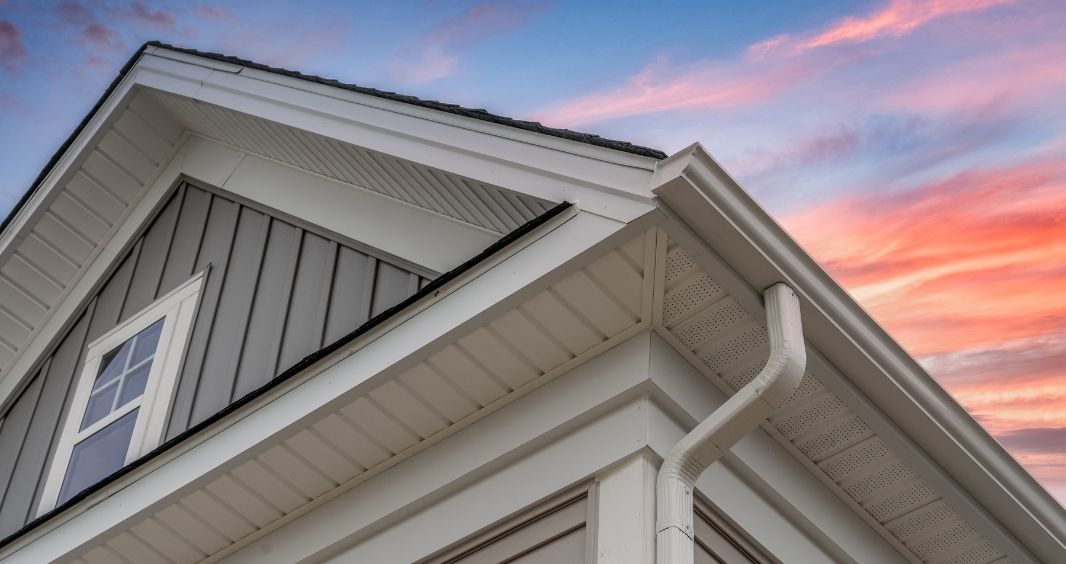
When a rainstorm comes out of nowhere, the last thing you want to be worried about is whether your gutters can redirect all the water properly. Proper drainage will be essential to reducing your home’s risk of flooding as well as cutting the amount of damage your property sustains during this period. In fact, the better your gutter system functions, the less cleanup you’ll have to do after the fact. Here is how to improve the drainage of your home gutters and the factors that can affect their performance.
Keep Your System Clean
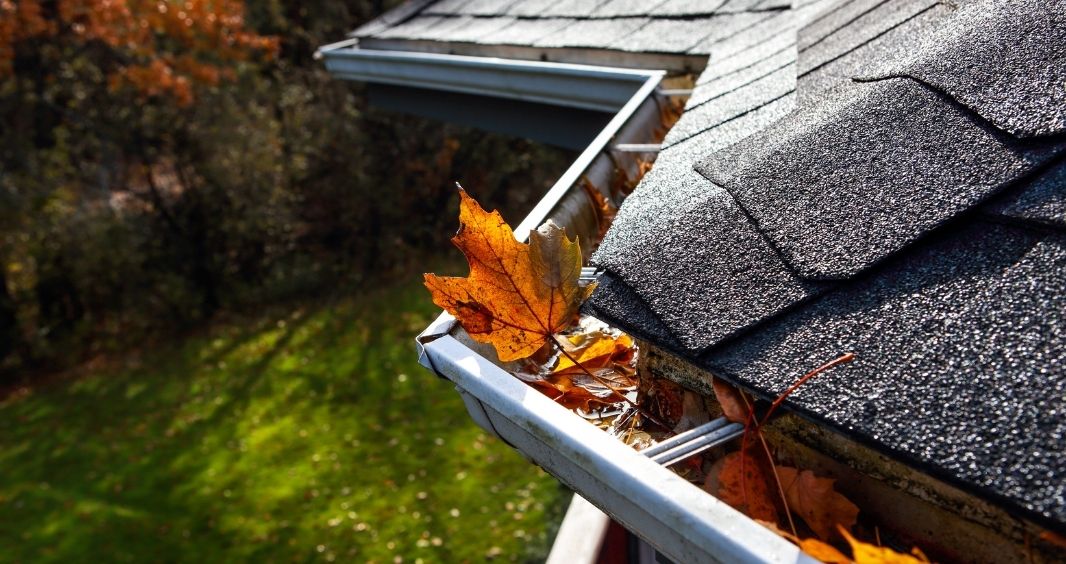
To maintain a steady water flow through all your gutter’s components, you first need to make sure that the piping is clean. As you’re probably well aware, gutters tend to collect an assortment of debris throughout the seasons. These items obstruct the channels where the water flows and stop them from draining as efficiently as they should, so regularly clearing this gunk out will be vital moving forward.
Install Gutter Guard Accessories
You can also improve the drainage of your home gutters by installing an accessory to keep potential blockages out. A gutter guard is a screened device that attaches to the top of your gutter channels and prevents large debris from collecting in them. The screen portion still lets water in—allowing your system to do what it does best unhindered. Professionals can even hook up these products for you and save you the extra work.
Use Downspout Extenders
Another step you can take is to equip your downspouts with several extenders. On a basic gutter system, the downspout doesn’t deposit water very far away from your home. Though this is still helpful in preventing floods, you can further increase your odds by making this section of pipe longer. In doing so, the water runs further out into your yard, draining it in a much more effective way.
Call a Professional for Repairs
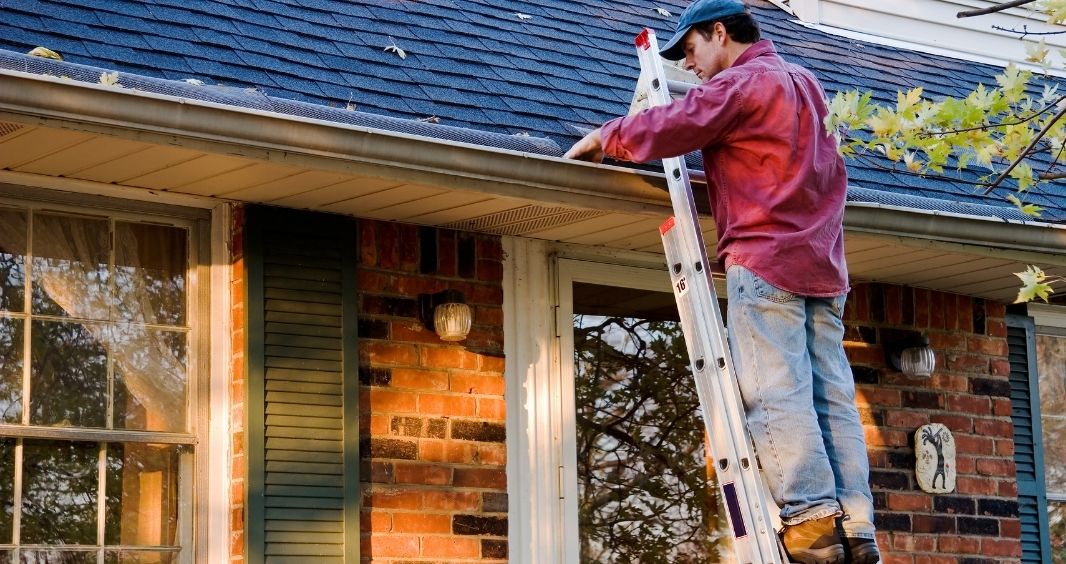
But one of the best actions you can take to make your gutters perform better is to contact a professional for repairs and advice. Since a lot of different factors can impact your gutter’s ability to drain, only expert eyes can accurately diagnose the problem and fix it. These professionals will help you replace any components or remove any clogs that are causing issues to get everything flowing smoothly again.
At Bear Mountain Custom Painting, we’ll work hard to ensure that your gutters are always functioning at their best. Whether you need a few repairs or an entirely new setup, our team of Cumming, GA gutter installation contractors is ready to take on your project. We’ll take on the grunt work so that you can weather any coming storms with ease.
While the art of painting a home requires ample skill and finesse, it’s the quality of the painter’s brushes that truly make the results stand out. Whether it’s their materials or their overall style, each aspect caters to a specific type of painting and only a few can yield the results you want for a project. This is why it’s important that industry professionals always come equipped to handle a particular job. Knowing about these tools can also help you understand how they contribute to the finished product. These are the different types of professional home paintbrushes that experts use and where they’re most effective.
Top Brush Materials
To the untrained eye, brushes often appear the same. However, if you take a closer look, you’ll realize that paintbrushes are comprised of different materials to best suit the type of paint they’ll be used with. Knowing which bristles work most effectively with certain paint products is typically half the battle when the project begins, and professionals need to commit them to memory. Listed below are the primary resources to keep in mind.
Synthetic Bristles
Synthetic bristled brushes are built using man-made resources such as nylon or polyester. They work incredibly well with a variety of different paints because they’re non-absorbent and easy to clean. However, some perform better in certain situations than others.
Specifically, brushes made of nylon are more often recommended for water-based paints since they’re better at holding onto products with a looser texture. They can also be used with oil paints—which are very popular along interior walls—but aren’t always the preferred method with these formulas.
Polyester brushes, on the other hand, are considered to be the more durable option of the two because the bristles are firmer, and they resist sticking. This is why they’re the most recommended tool to use when working with thicker latex paints. They’re capable of holding their shape through the different rigors of the application process as well. As such, they coat paint smoothly on a surface and ensure that the layer is even.
Natural Fibers
Natural fiber bushes are another popular option for professionals as they’re considered the most effective way to apply oil-based paints, stains, and clear-coat products. Because they’re made from harvested animal hairs, these bristles are capable of holding onto more paint and applying it in effortless strokes. The split ends that develop naturally along these brushes as they age further increases the amount of paint they can hold onto at a given time. This makes them highly effective at catering to a larger surface area.
Different Brush Sizes
The overall size of a paint brush is also an important feature to keep in mind. This aspect affects everything from the amount of paint a painter can apply at a given time to how precise they can make their lines. For this reason, it’s common to see professionals with brushes in several different sizes just in case they should need them. Below are the standard brush dimensions used in the industry.
One- and Two-Inch
The smallest paintbrushes that can be used for residential painting, single- and double-inch models are meant to be used on smaller surfaces or tight corners. For example, they’re typically used around window frames and other areas with small sections of trim.
Three-Inch
Brushes that are three inches wide are used for painting slightly larger objects such as doors and cabinets. They’re great for covering a larger surface area while maintaining the ability to hone in one the finer details when necessary. It’s important to mention, though, that smaller brushes are typically best for detail work.
Four-Inch
Brushes that are fourinches or longer are simply meant to hold and apply as much paint as possible in a few strokes. They allow painters to fill a designated area at a faster rate while minimizing the amount of effort they need to exert to do so. Such brushes are essential when painting an interior wall or exterior siding.
Professional Brush Styles
No guide to the different types of professional home paintbrushes would be complete without discussing their various styles. Not all paintbrushes are designed to apply a large quantity of paint. Believe it or not, many are simply meant to perform correction work or establish small details in the finished product. Bristles can be cut to accommodate these functions, and this is what we refer to as the brush’s overall style. Here are some examples to consider.
Angle Slash
Angle slash brushes have their bristles cut at a sharp slant to assist with cornering techniques. They allow the painter to spread the paint in the tightest of spaces and create a clean, crisp look when finished. Angle slash models can hold significantly more paint than thinner brushes, although thin-angle slash brushes are more effective at reaching the deepest corners.
Flat Sash
Flat sash brushes, conversely, don’t have their bristles cut at all. Instead, they promote a straight edge that establishes even lines over a flat surface. These tools also come in various sizes to suit the dimensions of the surface area. They’re great at covering a smaller surface area as well.
Trim
Trim brushes work better on larger, flat surfaces that require a lot more paint. They also have a straight edge and work especially well on exterior siding panels. These brushes are known to increase the amount of control a painter has over their work due to their finer tip.
Wall
Wall brushes are among the most commonly used style for professionals because they’re wide, thickly bristled, and boast maximum coverage. This allows the painter to load it up with much more paint than the other brush types and apply it smoothly. These models can be used on any type of home painting job and have the most versatility.
So, as you can see, professional home painters use a series of different brushes to create the stunning results you’re after. As such, it often takes someone experienced with these tools to know when each is most effectively used and how to properly apply paint with them. At Bear Mountain Custom Painting, we’re proud to say that we have some of the best painters in the business. In fact, our home exterior painting services in Cumming, GA are considered among the highest quality offered in the area. Because of this, you can be rest assured that we’ll approach your project with all the necessary equipment in-hand.
Wooden siding is one of the most beautiful and protective finishes you can have on your home. However, despite this, it can still deteriorate quickly with frequent sun and rain exposure. This could lead you to not only spend more money on repairs and replacements but also sustain damage along your interior walls. Fortunately, from the time your siding is installed to several years down the line, there’s plenty you can do to mitigate this risk. These are a few ways to make your home’s wood siding last longer and keep your property protected.
Choose the Right Style
Believe it or not, promoting the longevity of your siding begins with the type of siding you initially pick. Not all materials can withstand the same conditions. In fact, wood siding is particularly susceptible to heavy rain and sun. Because of this, you’re already setting yourself at a disadvantage should you choose wrong. On the plus side, there are several types of wood that are more resistant to moisture and will hold up better over time, such as redwood, western cedar, or cypress.
Install It Correctly
It’s also important that you get a qualified professional to Install siding in Cumming, GA. When siding is left with a series of gaps or divots between the boards, it becomes easier for it to develop water traps. As the name suggests, these areas trap rainwater and prevent it from draining away from the house. This gives it a chance to seep into the wood and start the rotting process. Therefore, hiring someone who knows how to avoid these traps will be essential.
Protect It With the Right Paint
Another effective way to make your home’s wood siding last longer is to use the right paint and sealer products on it. As mentioned above, water and sun are the primary threats when it comes to the overall lifespan of your wooden siding. For this reason, you want to use paint, sealing, or staining formulas that were created for blocking out these elements. Make sure you research your options thoroughly or ask a professional for advice on which would work best for you.
Clean and Repair It Regularly
Most importantly, stay on top of your regular cleaning and maintenance duties. Siding will deteriorate more quickly if you leave it covered with dirt and broken from past storms. So, you’ll need to spend some time doing repairs and washing away debris to ensure your siding will hold up. This process also gives you the opportunity to check for wood rot and address these issues before they become larger problems.
If you’re looking for a team of professionals that will install your new siding the right way, reach out to Bear Mountain Custom Painting. Our siding installation contractors in Cumming, GA have worked with dozens of different materials on a variety of homes. As such, we’re confident that we can complete your project in a way that maximizes its lifespan and saves you money in the years to come.
While windows are designed to form a seal and keep the outdoor elements from entering your home, they aren’t immune to damage. In fact, depending on your local weather conditions, or even how your windows were installed, they can be just as vulnerable as other parts of your property. When inspecting your windows for damaged, it’s important to know what to look for. These are the different types of window damage to make note of.
Wood Rot or Mold
When we think of rot or mold, it’s common to envision it along our home’s inner walls or in the basement. However, these growths are also known to form along any surface that collects moisture—such as your windows. During heavy storms or long damp spells, cheaply made wood frames can absorb the humidity in the air and trigger the development of harmful organisms. Over time, both mold and rot will eat away at the frames and weaken them beyond repair.
Broken Window Seal
Breached window seals are also a problem. This is because regardless of how reinforced the glass might be, it’s still prone to chipping under the right amount of force. When this happens, moisture enters and collects between the panes—creating additional problems with home energy efficiency and climate control. Seals can also be broken when your home shifts on its foundation.
Faulty Hardware
Another type of window damage to be aware of is malfunctioning hardware. As the components that allow us to lock our windows and freely adjust how they sit when open, these parts are essential to the functioning of the windows. However, they can become less effective with age and break after several years of consecutive use. In many cases, these moving parts can rust, making it increasingly difficult to move them how you want.
Expanding or Shrinking Frames
Your windows frames can even shrink or expand depending on your local temperatures. Cold climates will often lead them to contract, while warmth will cause them to get larger. This can prevent your windows from fitting correctly in their slots and create further issues with sealing and moisture. Unfortunately, this particular type of damage can be out of your control. So it’s best to be aware that it can happen.
Should you notice any of these forms of damage along your windows, it’s often easier to get them replaced rather than spend the money to fix them. As such, you want to hire professionals you can trust with the project. We at Bear Mountain Custom Painting specialize in window replacement in Cumming, GA along with several other home renovation tasks. Because of this, we’re confident in our expertise and know that we can get you the best results.
While having functional home gutters is a necessity, no matter what time of year it is, the spring season comes with its own set of needs for gutters. Prone to larger storms and longer periods of weather, these few months could be some of the most likely to bring about flooding. As such, it’s important that you know the part your gutters could play in keeping your home safe. This is why gutter repair is essential in the spring and the benefits this action can provide.
Prevents Pest Nesting Near Your Home
When the weather starts warming up, neighborhood pests officially come out of hibernation and begin building new nests. Unfortunately, this makes your gutters (and several other parts of your home) prime real estate. It’s common for squirrels and raccoons, specifically, to store building materials in your gutters—clogging them up and preventing them from draining properly. On the plus side, by staying on top of maintenance, you not only remove this debris but discourage these animals from coming back.
Eliminates Mold and Rust Growth
The harsh winter months can do a lot of damage to gutter systems, which makes them much more susceptible to things like rust and mold come springtime. Any broken parts will tend to rust as they’re exposed to the elements, and debris will often grow mold if left to sit in water for long periods. Because of this, proper maintenance and repairs will be vital to keeping these things from happening.
Keeps Them Functioning Properly
But the most important reason why gutter repair is essential in the spring is that it can improve your system’s overall functionality. As previously mentioned, spring is the season of heavy rain showers, meaning your home is at a higher risk of flooding than normal. However, if your gutters are working as they should be, this is much less of a concern since the water will be directed away from your home’s foundation. So, in order to ensure your home’s safety during this time of year, gutter maintenance is simply a beneficial thing to do.
At Bear Mountain Custom Painting, we understand how dangerous spring showers can be to the more susceptible areas of your home. This is why we want to ensure no residence goes without the necessary protection this year. Our gutter repair services in Cumming, GA, cover everything from part preplacement to full gutter system installation. As such, we consider ourselves one of the best resources for getting your home ready for warmer weather.