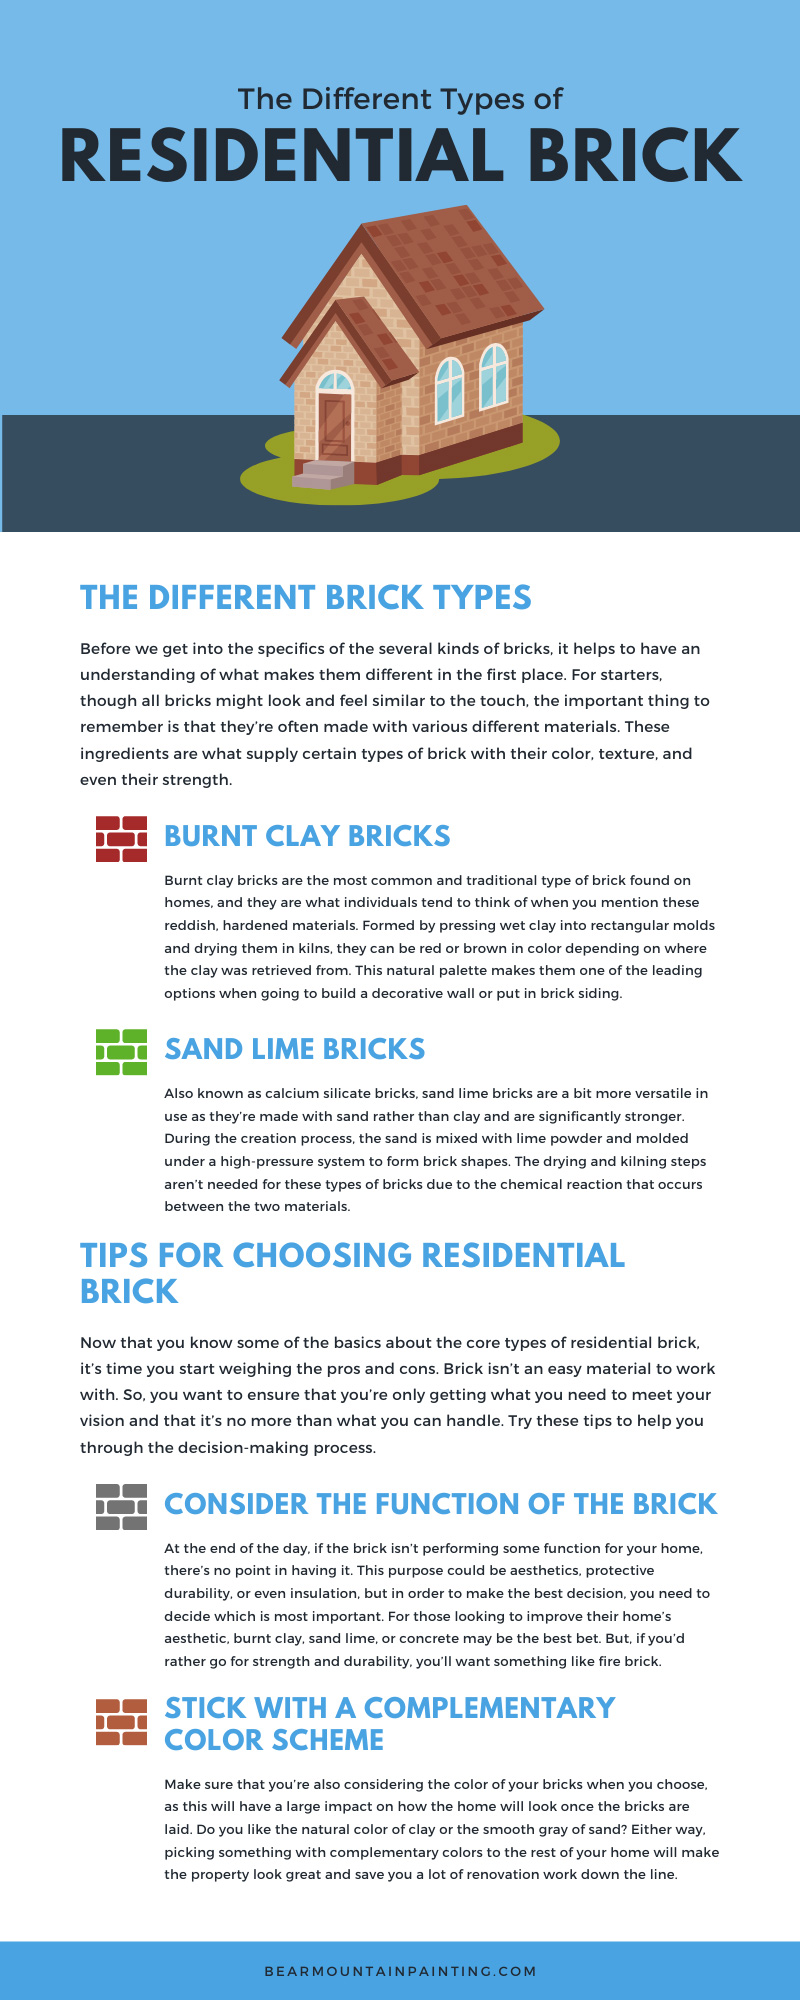
The Different Types of Residential Brick
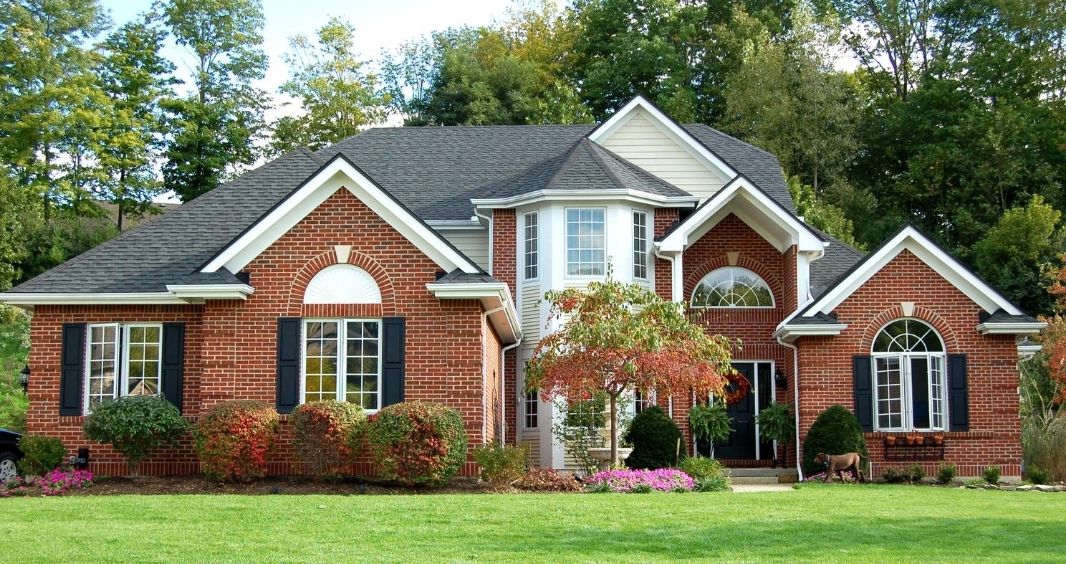
From the time that bricks were first being made, we’ve been including them in our infrastructural endeavors. Whether it be public gathering areas or places of business, these materials acted as the core foundation for many structurally-sound buildings. But bricks aren’t only used for wide-scale construction projects. In fact, they’re just as commonly used to both strengthen and decorate our private residences. Brick homes are just as beautiful as they are durable, providing a classic look and charm while also staving off the harsh elements for generations. So, it’s no secret that many homeowners want to apply some of these benefits to their own properties. However, ensuring these projects go off without a hitch relies on choosing the right type of brick for your needs. These are the different types of residential brick and some tips for picking the perfect one.
The Different Brick Types
Before we get into the specifics of the several kinds of bricks, it helps to have an understanding of what makes them different in the first place. For starters, though all bricks might look and feel similar to the touch, the important thing to remember is that they’re often made with various different materials. These ingredients are what supply certain types of brick with their color, texture, and even their strength. Some bricks also possess additional resistant features depending on their construction materials and can serve more specific purposes as a result. Now, to go into more detail, these are the different types of residential brick for you to choose from.
Burnt Clay Bricks
Burnt clay bricks are the most common and traditional type of brick found on homes, and they are what individuals tend to think of when you mention these reddish, hardened materials. Formed by pressing wet clay into rectangular molds and drying them in kilns, they can be red or brown in color depending on where the clay was retrieved from. This natural palette makes them one of the leading options when going to build a decorative wall or put in brick siding. However, because of their beauty and quality, burnt clay bricks are often a bit more expensive than some other types. Still, they’re highly sought after for the natural color, depth, and texture they provide to a flat home design.
Sand Lime Bricks
Also known as calcium silicate bricks, sand lime bricks are a bit more versatile in use as they’re made with sand rather than clay and are significantly stronger. During the creation process, the sand is mixed with lime powder and molded under a high-pressure system to form brick shapes. The drying and kilning steps aren’t needed for these types of bricks due to the chemical reaction that occurs between the two materials. This chemical reaction greatly increases the strength of sand lime bricks, making them the perfect option for more strenuous use in home foundation or exposed walls. Although, it’s important to still mention that you can use these bricks for more decorative purposes if you like their smooth appearance. With a bit of pigment included in the creating process, you can even commission them in colors other than gray.
Concrete Bricks
On the other hand, concrete bricks offer a more rough and distressed aesthetic that’s become increasingly popular in recent years. Because they can also be formed in a series of different shapes, they’re useful in many areas of the home and have diverse uses. However, you might want to note that while concrete is a very stable material, it doesn’t hold up particularly well to intense pressure or weight. As such, they’re more often used for aesthetics on outdoor fences and hidden brickwork.
Fly Ash Bricks
Fly ash is the official name for the coal residue left after large chunks of coal have been burned away. Containing large amounts of calcium oxide, fly ash is often used as a fast-expanding material in materials like brick and cement. So, when mixed with water, it creates a quick-hardening material that can be molded into chunks of brick. Fly ash bricks are very lightweight compared to other types of brick and resist things like heat and moisture very well. It’s important to mention though that while they’re easy to lay, they aren’t the strongest or most structurally sound. So, you shouldn’t use them for foundations.
Fire Bricks
Lastly, fire bricks, or refractory bricks, are used for areas of the home that need increased heat resistance such as grilling, chimney, and furnace locations. Constructed with earth that’s high in aluminum oxide, these bricks can withstand temperatures of over several hundred degrees once they’re properly burned. These additional properties can be very beneficial to certain sections of a home and even increase a property’s overall resistance to fire. Because of this though, fire bricks might be a bit more difficult to acquire and more expensive to have made.
Tips for Choosing Residential Brick
Now that you know some of the basics about the core types of residential brick, it’s time you start weighing the pros and cons. Brick isn’t an easy material to work with. So, you want to ensure that you’re only getting what you need to meet your vision and that it’s no more than what you can handle. Try these tips to help you through the decision-making process.
Consider the Function of the Brick
At the end of the day, if the brick isn’t performing some function for your home, there’s no point in having it. This purpose could be aesthetics, protective durability, or even insulation, but in order to make the best decision, you need to decide which is most important. For those looking to improve their home’s aesthetic, burnt clay, sand lime, or concrete may be the best bet. But, if you’d rather go for strength and durability, you’ll want something like fire brick.
Stick with a Complementary Color Scheme
Make sure that you’re also considering the color of your bricks when you choose, as this will have a large impact on how the home will look once the bricks are laid. Do you like the natural color of clay or the smooth gray of sand? Either way, picking something with complementary colors to the rest of your home will make the property look great and save you a lot of renovation work down the line.
At Bear Mountain Custom Painting, we pride ourselves in being able to provide whatever it is our clients need. From siding and general carpentry services and painting and remodeling projects, we can help with various aspects of home renovation and get you closer to making your vision a reality. So, even if you have a few brick surfaces that you don’t know what to do with, let us work with you on the perfect new look.