THE DIFFERENCES BETWEEN WET ROT AND DRY ROT

If you’ve ever owned a home or building, you’ve most likely experienced the destructive nature of wood rot. Rot is one of the major causes of decay in wooden siding, window frames, and even foundation. It can grow and weaken the structure of a home faster than many homeowners expect. However, how serious the case is, and what action you need to take, depends on what type you have to deal with. As you seek out a way to fix the damage on your home, educate yourself on the differences between wet rot and dry rot to learn the best possible treatment method.

The Main Differences

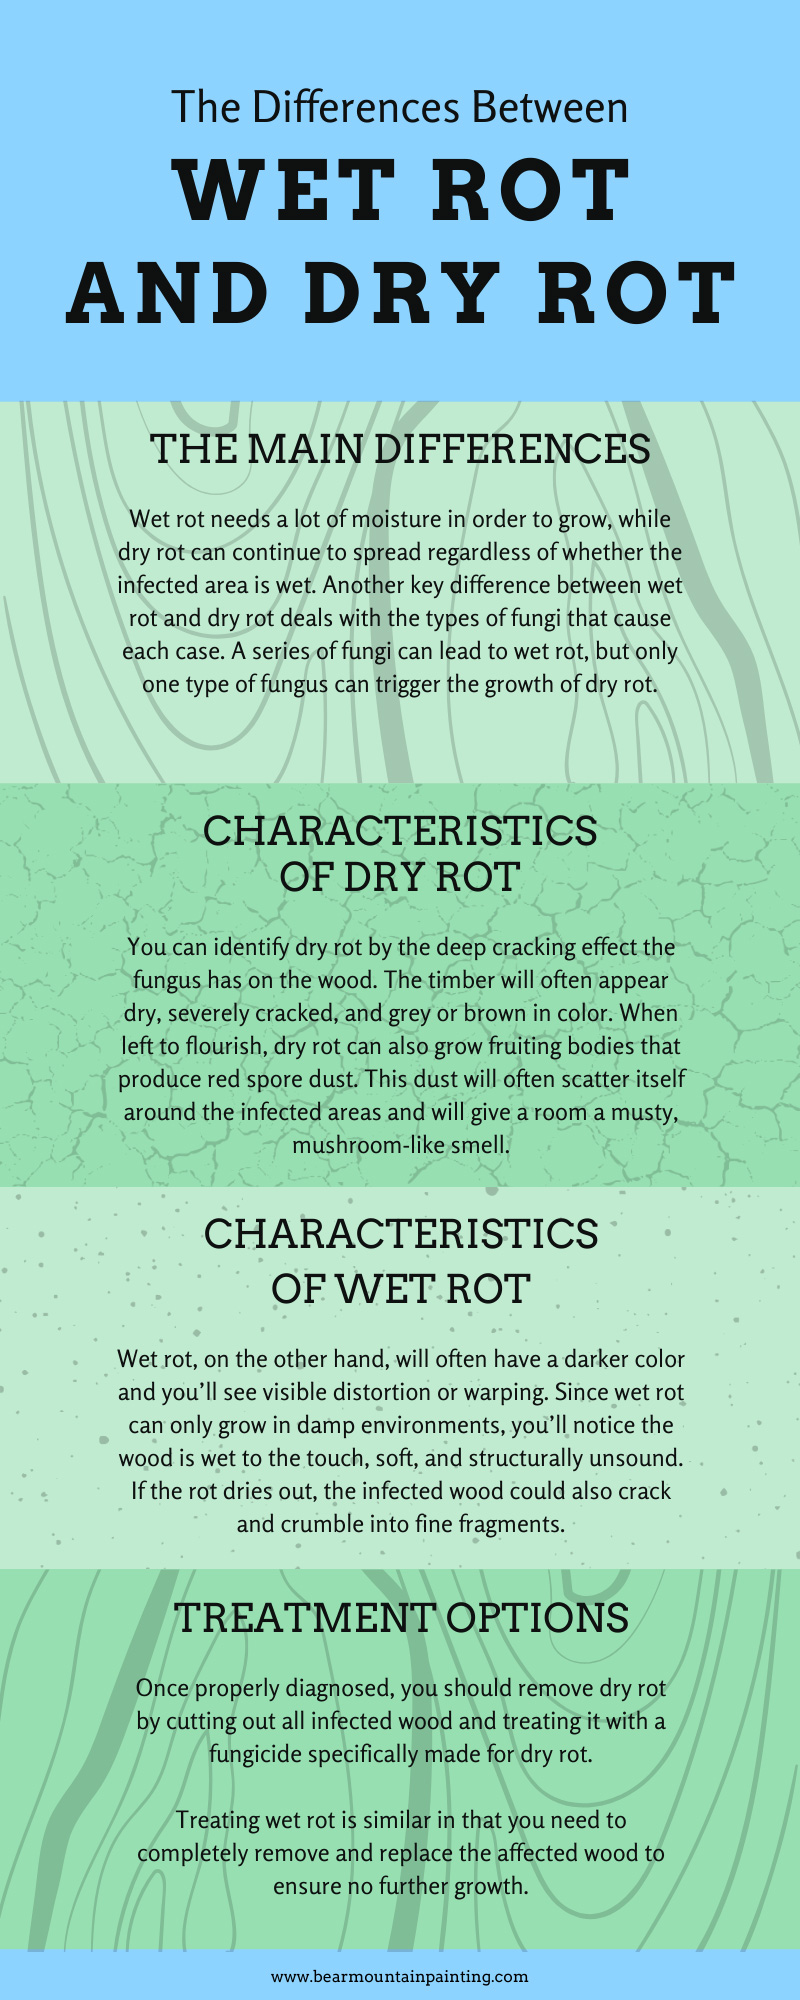
Though fungal decay within wood timbers causes both types of rot, the main distinction deals with the amount of moisture needed for them to flourish. Wet rot needs a lot of moisture in order to grow, while dry rot can continue to spread regardless of whether the infected area is wet. Fortunately, this means that wet rot often confines itself to those select, damp areas. This also means dry rot poses a more significant danger because it can possibly infect the rest of your home.

Another key difference between wet rot and dry rot deals with the types of fungi that cause each case. A series of fungi can lead to wet rot, but only one type of fungus can trigger the growth of dry rot. It’s for this reason that wet rot is typically more common, easier for wood to contract, and less serious to treat. Dry rot, on the other hand, is harder to catch, more difficult to get rid of, and requires more specialized treatment.

Characteristics of Dry Rot

Fortunately, it isn’t usually difficult to properly distinguish wet rot from dry rot. While they both have the same structural effects on a home’s wooden frames, their visible characteristics often make them distinct.

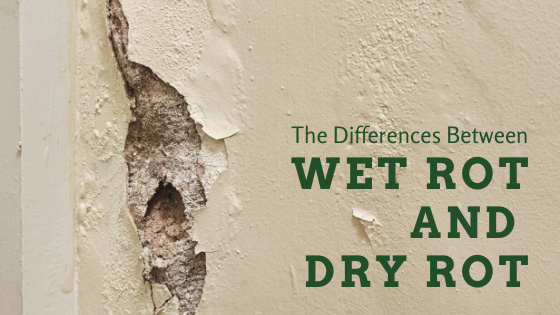
You can identify dry rot by the deep cracking effect the fungus has on the wood. The timber will often appear dry, severely cracked, and grey or brown in color. When left to flourish, dry rot can also grow fruiting bodies that produce red spore dust. This dust will often scatter itself around the infected areas and will give a room a musty, mushroom-like smell.

It’s important to note that these characteristics might be obscured if your wooden surfaces have a layer of paint. Despite this, however, you can still see the tell-tale cracking of the wood and the yellowish tint of the interior fibers. Once you fix these sections of wood, you may need to consider getting them repainted to complete the project.

Characteristics of Wet Rot

Wet rot, on the other hand, will often have a darker color and you’ll see visible distortion or warping. Since wet rot can only grow in damp environments, you’ll notice the wood is wet to the touch, soft, and structurally unsound. If the rot dries out, the infected wood could also crack and crumble into fine fragments.

Additionally, potential fungal growth can help you identify wet rot. Many homeowners report finding a black fungus growing on the timber that resembles a mushroom in shape. This fungus organism feeds on the damp wood fibers. This fungus will also release a damp, musty smell to indicate that it’s eating away at the wet materials.

Treatment Options

Each type of rot grows and spreads in different ways, so you have to treat them in a specific way for the best possible results. It’s crucial that you reach out to a trusted carpenter in Cumming to get the job done right. These experienced professionals can accurately determine the scope of the damage and decide on the best possible solution.

Since dry rot can spread to other areas of your home, it’s crucial that you take the time to properly diagnose the problem and identify the affected areas. Missing a section of this rot can allow it to grow back and spread to the wood you just repaired.

Once properly diagnosed, you should remove dry rot by cutting out all infected wood and treating it with a fungicide specifically made for dry rot. This will strip away all the fungus and kill whatever spores remain in the not-yet contaminated timber. It’s also recommended that you install better underfloor ventilation to improve the airflow in damp areas, as this will help reduce the risk of the rot returning.

Treating wet rot is similar in that you need to completely remove and replace the affected wood to ensure no further growth. It’s also important to identify the source of the moisture that caused the rot to develop in the first place. This could be internal water sources such as faucets and toilets or external water spouts and garden hoses.

After using a fungicide, experts recommend you also use a wood hardener with a preservative to strengthen the surrounding timber in order to make it less susceptible to reinfection. It’s also advised that you increase the airflow in moist areas of the home to keep the wood strong and dry. This will prevent fungus spores from attaching to the wood, and it will deprive them of the environment they need to break down and feed on the fibers.

For both treatment plans, it’s often most effective to replace the contaminated wood with already preserved, treated wood. Pre-treated wood is often stronger and can better withstand infection if it’s ever exposed to fungus. This will help slow down the rotting process and limit the extent of long-term damage.

For expert advice on how to handle the wood rot on your home, reach out to Bear Mountain Custom Painting. Our professional carpentry services in Atlanta, Georgia specialize in removing, replacing, and treating your home’s wooden components. We can also offer information and knowledge on how to prevent future infection and keep your home safe. When you team up with us, you can ensure that your home is strong enough to take on the elements and safe enough that you can live without worry.
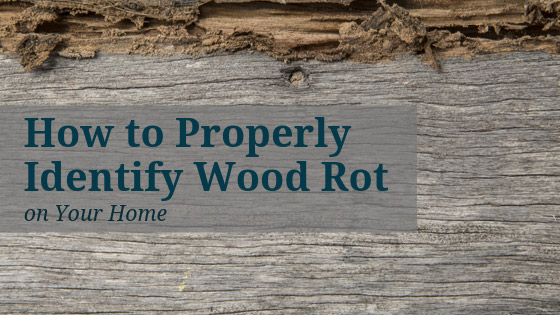
HOW TO PROPERLY IDENTIFY WOOD ROT ON YOUR HOME

No matter how well we treat our homes, it’s still possible for the elements to wear away at our defenses and damage our wooden architecture. When our wooden accents are damaged, they are susceptible to rot and can further deteriorate. As a result, the wood becomes structurally unstable and can cause additional problems. To keep your home pristine and safe, learn how to properly identify wood rot on your home.

Damage

One of the most common signs of rotten wood is visible damage. If the wood is splintered or chipped, it’s easier for moisture to work its way in and soften the wood. Over time, this moisture reacts with bacteria and grows into rot. For this reason, it’s best to catch these damaged areas early and repair them before the elements make matters worse.

Color

Though damage is a great way to identify a threat, it’s important to note that there won’t always be visible signs of rot. Sometimes, moisture is already present within the wood and can slowly deteriorate the internal fibers. While this doesn’t leave any visible outer damage, this process can turn the section a brown-black color, which indicates that its time to replace the wood.

Structure

As the wood weakens, the overall structure of the section can also change. It often becomes soft to the touch and unstable when under stress. Be sure to test any seemingly rotten spots with a bit of weight, and prod them with a screwdriver to determine softness. If the tip of the tool leaves indents within the wood, it’s too soft.

Texture

Rotten wood can warp and obtain a different texture. This can often be a sign of rot as well as fungus growth. It’s crucial that you periodically compare the wood segments along your home to check for any anomalies in texture. When spotted, it’s usually best to replace the infected sections rather than repair them.

If present, wood rot is a problem; it’s crucial to hire a trusted professional for the best possible results. Reach out to Bear Mountain Custom Painting to get the job done safely and efficiently. Our qualified carpenters in Cumming, GA are top-notch and speedy, so you can live in your home worry-free.

TIPS FOR CHOOSING THE RIGHT WINDOW STYLE

As reliable as our widows are at keeping the elements out of our homes, the time always comes when we must replace them. However, the process of choosing new windows can be taxing. With various shapes, designs, and colors to choose from, the possibilities may seem endless to many homeowners. To find the best fit for your home’s design, style, and needs, practice these tips for choosing the right window style.

Assign a Purpose to the Windows

Though well-placed, stylish windows make our homes look nice from the curb, they also have a series of other functions. Windows can be artistic and beautiful, but they also let light into a home and protect the interior from the weather. Think about which functions you want your new windows to have and which would best complement your needs.

Consider Your Ventilation Needs

Another function of your home’s windows is to both provide and limit air circulation and ventilation. As such, the type of windows you ultimately choose should fulfill your ventilation needs in order to be the most effective. For instance, while decorative stained glass is a beautiful addition, you might want to consider other options if you want to periodically let fresh air into the room.

Think About the Home’s Architecture

Once you know what needs you want your windows to meet, think about what layouts would best suit the architectural design of the home. Depending on how the home is shaped, you may want to use a rectangular, square, or even rounded window style to complement it. The right combination can make a big difference in the way your home looks and drastically change its overall atmosphere.

Get Inspiration from Your Neighbors

If you’re struggling to find a design that matches your home’s architecture, consider looking at your neighbors’ homes to get ideas. The homes within the same neighborhood often have similar layouts and designs. Because of this, it can be beneficial to look at other homes and see how their owners have gone about the designing process.

At Bear Mountain Custom Painting, it’s important to us that we get you one step closer to your dream home. Reach out to our window replacement professionals in Cumming, Georgia—they’ll answer any questions you have and help install the perfect windows.

HOW EXTERIOR PAINT COLOR AFFECTS A HOME’S ENERGY EFFICIENCY

Your home’s exterior color scheme can play a role in more than just making it look nice. From changing our everyday attitudes to helping visitors feel at ease within our walls, color can create the perfect atmosphere for a home. But that’s not all—color can also help us control the overall climate in our homes and keep us comfortable. When choosing a new color scheme, take into account how paint color affects a home’s energy efficiency.

Dark Versus Light

Whether you’re repainting your siding or your roof, the exterior colors on your home can play a major role in your comfort throughout the day. As you choose the right color for you, remember that darker colors tend to absorb heat from the sun while lighter colors can reflect it away from the home. This is important as it can determine how warm or cool your home stays and it’s crucial that you consider your local weather when making that decision.

For those who live in an area that gets more sun and heat, a heating and cooling contractor will tell you it’s typically more energy efficient to use lighter colors. In doing so, the exterior siding and roof will be able to reflect the heat and make it easier to keep your home cool. If you live in a cooler area on the other hand, then you may want to consider a darker color. Since deeper-colored paint can absorb up to 90 percent of the sun’s energy, this is an effective way to trap the additional heat in your home. As a result, you can save a decent amount of money that would’ve gone towards maintaining the home’s temperature.

Safe Options

Though these facts are good to keep in mind, not everyone lives in a polarized climate. As such, it’s important to consider what kind of weather patterns your area typically sees and how you can best accommodate that. For those that experience all four seasons, the answer might be to use a balanced color scheme. Pairing neutral colors such as white, light grey, or beige with darker or lighter accents will allow you to personalize the color’s effects on what you need. While the neutrals mostly reflect the sun, your darker accents still can absorb enough to save energy throughout the winter.

For all you need to know about exterior painting and siding, contact Bear Mountain Custom Painting. Our siding installation experts in Cumming, Georgia are here to answer whatever questions you have about exterior paint colors and get you the most beneficial results.

BLOGBLOGBLOGBLOGBLOGBLOGBLOG