






Color always gets most of the attention, but don't forget about planning for prep, repairs, weather, brand choice, and access around the home in regards to your exterior painting project. If your siding, trim, brick, shutters, porch, or front door needs attention, Bear Mountain Custom Painting, the leading painting company in Cumming, GA, would be glad to take a look. We have served North Georgia and the greater Atlanta area since 2005, with 1,000+ five-star reviews from homeowners who want the job done right the first time. Contact us for a complimentary quote and consultation. Whether you need a house painter in Marietta, Johns Creek, or local painters in Alpharetta, we are here to help.
Check The Current Condition Of Your Exterior Paint
Walk around the house before you start thinking too hard about colors. The existing paint will tell you a lot about what the project needs. Look closely at the sunny sides of the house, shaded corners, trim near gutters, porch details, door surrounds, shutters, and lower siding where moisture can sit longer after rain.
Fading alone is usually simple enough, but peeling, cracking, bubbling, mildew, chalking, exposed wood, and thick old paint layers need more attention. A new coat of paint can make a home look fresh, but it cannot fix a weak surface underneath!
Look For Peeling, Bubbling, And Cracking
Peeling paint has already lost its grip on your house; you may see curled edges, flakes on the ground, bare wood, or rough patches around trim and siding. Those loose areas need to be scraped or sanded back before new paint goes on.
Bubbling and blistering can point to heat, moisture, poor prep from a previous project, or paint that was applied over a dirty or damp surface. If you paint over bubbles, the new coat may look better for a short time, but the lifted paint underneath can keep breaking loose.
Cracking can show up as tiny lines across older paint or wider splits around trim joints and corners. Small cracks may need sanding and primer. Larger cracks may need caulk, repair work, or a closer look at the material underneath.
Check For Chalking Or Powdery Residue
Run your hand across the siding or trim. If a powdery film comes off, the old paint is chalking. This is common as exterior paint ages, especially on homes that get strong sun.
A little chalking can often be handled through washing and prep. Heavy chalking can keep new paint from bonding well. The surface may need a deeper wash and the right primer before finish coats go on. Skipping this step can lead to early failure, even if the new paint looks good at first.
Identify Where the Paint is Currently Failing
Most houses have areas that fail before the rest. Window trim, fascia, soffits, door surrounds, porch railings, shutters, garage door trim, and south-facing walls tend to show wear faster. Shaded areas may hold moisture, while sunny walls can fade and dry out.
Take note of those spots before you request an estimate. A good painting contractor will look for them, too, but it helps to know what you have already noticed. If the same area keeps peeling every few years, there may be a moisture issue, caulk failure, or exposed wood problem that needs to be handled before painting.
Inspect The Wood, Siding, Trim, And Caulk
Paint is not a repair product. It can protect sound surfaces and make the house look much better, but it will not restore rotted trim, close open seams, straighten warped siding, or rebuild damaged fascia. Before painting, the house needs a close look at the materials beneath the old coating.
Look For Rotted Or Soft Wood
Check trim boards, fascia, soffits, siding, porch columns, porch railings, window sills, door frames, and areas near gutters. Soft wood may feel spongy when pressed. Rotted areas may look dark, cracked, swollen, or crumbly.
Rotted wood should be repaired or replaced before paint goes on. Painting over it hides the problem for a little while, then the same area usually comes back looking worse. Fresh paint performs better over a solid surface, and repairs are much easier to manage before the finish work starts.
Check Caulk Lines Around Joints And Openings
Caulk protects gaps around windows, doors, trim joints, siding seams, corners, and transitions between materials. Old caulk can crack, shrink, split, or pull away from the surface. Once gaps open, water has an easier path into the home’s exterior.
Before painting, failed caulk should be removed or corrected. New caulk needs the right surface and enough dry time before painting. A neat caulk line also helps the finished project look cleaner, especially around trim, doors, and windows.
Review Siding, Brick, Stucco, And Masonry Separately
Different surfaces need different prep. Wood siding, fiber cement siding, stucco, painted brick, limewash surfaces, and masonry all respond differently to cleaning, primer, and paint.
Wood needs attention around joints, grain, and exposed areas. Fiber cement may need washing, caulking, and product selection based on the condition of the surface. Stucco can have cracks or textured areas that need special attention. Brick and masonry should never be treated like ordinary siding. If you plan to paint brick or apply limewash, the surface should be reviewed carefully before the product is chosen.
Wash The Exterior Before Painting
Exterior surfaces collect more than most homeowners realize. Dirt, pollen, mildew, spider webs, chalky paint residue, grass clippings, dust, and old debris can sit on siding and trim. Paint needs a clean surface if it is going to bond well.
Remove Dirt, Mildew, And Pollen
North Georgia homes deal with heavy pollen, humidity, shade, rain, and tree cover. That combination can leave siding and trim dirty even when the home looks fine from the street. Mildew may show up on shaded walls, north-facing areas, porch ceilings, and trim near landscaping.
Washing helps remove the grime that can weaken the new coating. The goal is not to blast the house aggressively. The goal is to clean the surface without damaging siding, trim, seals, or older materials.
Let The Surface Dry
Paint should go onto a dry surface. After washing, the house needs enough time to dry. Shaded sides, porous materials, and areas near landscaping can stay damp longer than expected.
This is one reason scheduling matters. A painter should not rush straight from washing into finish coats if the surface still holds moisture. A clean, dry surface gives primer and paint a much better chance to bond.
Choose Exterior Colors Well in Advance
Color decisions take longer than people expect. A color that looks perfect online or in the store can look completely different on your siding, brick, or trim. The safest move is to choose colors before your project date is close, especially if you need HOA approval or want a major exterior change.
Test Colors On Your Home
Paint samples should be viewed outside. Store lighting does not tell the truth about exterior color. A small sample on the house, or a large color board held against the home, can give you a much better sense of how the color will look.
Check the sample in morning light, afternoon sun, shade, and cloudy weather. A warm white may look soft in shade and bright in direct sun. A gray may turn blue or green next to brick. A deep color may look great on the front door but too heavy across the whole exterior.
Compare Paint Colors Against Fixed Materials
Look at the roof, brick, stone, gutters, windows, shutters, porch flooring, steps, hardscaping, deck boards, and landscaping. These features affect how a color reads.
Brick is especially important. A paint color can look beautiful on a sample card and still clash with brick undertones. Roof color can also change the way siding or trim appears from the street. A good color choice should make the whole exterior feel pulled together, not like separate pieces fighting each other.
Check HOA Rules
If your neighborhood has an HOA, review the paint rules early. Many communities have approved color palettes, submission forms, or review timelines. You may need to provide color names, brand information, finish details, or photos of the home.
This step is easy to overlook, and it can delay the project. Before you order samples or schedule painting, check whether your exterior body color, trim color, shutter color, garage door color, and front door color need approval. Bear Mountain Custom Painting can work from HOA color documents when homeowners already have them.
Decide What Needs To Be Painted
Don't forget the shutters, front door, garage door, porch ceiling, trim, or railings. Before the estimate, decide which surfaces you want addressed.
Siding, Brick, Or Stucco
The main body of the house sets the tone for the project. Wood siding, fiber cement siding, stucco, painted brick, and masonry surfaces all need their own prep plan. The product choice should match the surface and the condition of the existing coating.
If you plan to paint brick or change the look of masonry, slow down and talk through the options. Painted brick, limewash, and masonry coatings can all create different looks and maintenance expectations. This decision should be made with a clear understanding of the surface and the long-term result.
Trim, Fascia, Soffits, And Window Casings
Trim often shows the most wear. It sits at corners, edges, joints, openings, rooflines, and transition points where water and sun can do more damage. Window casings, fascia, soffits, rake boards, corner boards, and door trim may need scraping, sanding, caulking, primer, or wood repair before painting.
Fresh trim can make the whole exterior look sharper. It can also expose poor prep quickly if the surface underneath was not handled well. This is one place where patience pays off.
Shutters, Doors, Garage Doors, And Porch Details
Accent areas deserve their own color conversation. Shutters, front doors, garage doors, porch ceilings, columns, railings, and entry trim can change the look of the house without changing every wall.
A front door can handle a richer color than the body of the home. Shutters may need stronger contrast, or they may need to sit back quietly depending on the house. Garage doors often look best when they support the exterior rather than becoming the first thing you notice.
Decks, Railings, Fences, And Outdoor Structures
Decks, fences, pergolas, sheds, and outdoor structures may need separate products from the house. Horizontal surfaces take more abuse from foot traffic, water, dirt, and sun. Railings and posts also wear differently than siding.
If these areas are part of the project, mention them during the estimate. They may need cleaning, sanding, staining, painting, or a product designed for more direct exposure.
Think Through Weather And Timing
Avoid Painting In Rain Or On Damp Surfaces
Rain is the obvious problem, but damp surfaces can be just as troublesome. Moisture can sit in shaded siding, porch details, trim joints, and wood that has not fully dried after washing or a storm.
A painter should not force paint onto a wet surface just to keep a schedule moving. Waiting for proper conditions can protect the finish and help avoid bubbling, peeling, or poor bonding.
Watch Heat, Direct Sun, And Cold Snaps
Hot sun can cause paint to dry too fast on the surface. Cold temperatures can slow curing and affect application. Direct sun may also change the way paint lays down, especially on doors, trim, and darker colors.
A good crew pays attention to the side of the house they are painting, the time of day, and the product being used. On many projects, the work sequence changes based on shade, sunlight, and drying conditions.
Protect Landscaping, Outdoor Furniture, And Hardscapes
Before painters arrive, look around the exterior and think about access. Crews need room to work safely around the house. A little preparation can make the project smoother and protect the things near your home.
Move Furniture, Planters, And Décor
Patio furniture, grills, planters, flags, wreaths, hoses, toys, outdoor rugs, and seasonal décor should be moved away from the house when possible. Wall-mounted items may also need to come down before prep or painting begins.
If something is heavy or difficult to move, talk with the painting company before the project starts. It is better to plan around those items than deal with them mid-project.
Protect Plants, Walkways, Decks, And Patios
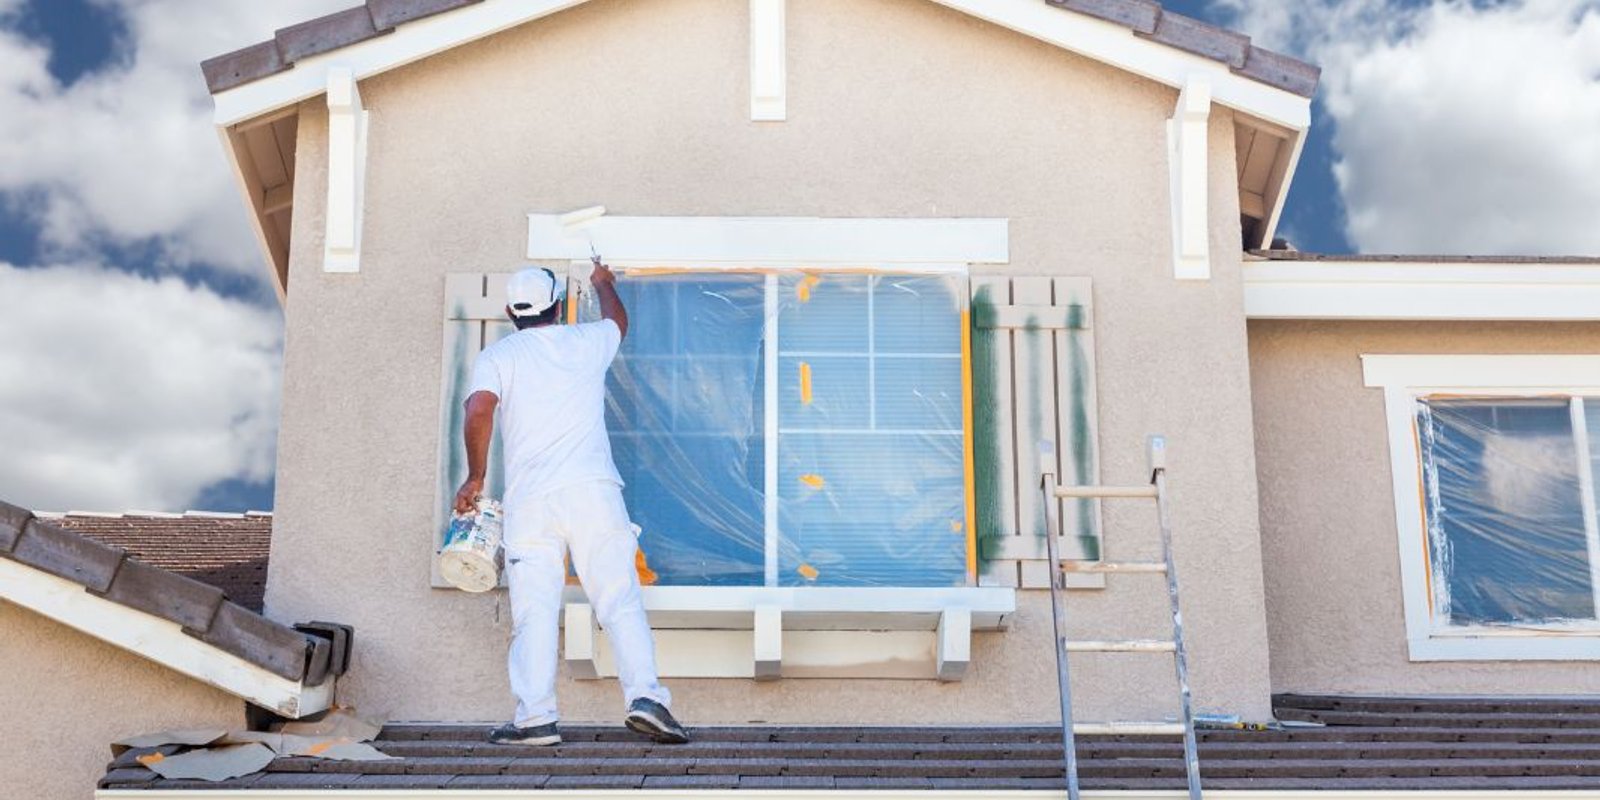
Shrubs, flower beds, mulch, stonework, decks, patios, porches, walkways, and driveways should be protected during prep and painting. Scraping, sanding, washing, and painting can all create debris or overspray if the area is not covered properly.
Professional painters should bring drop cloths, plastic, masking materials, and a plan for working around landscaping. If you have delicate plants, new hardscaping, outdoor kitchens, or specialty patio surfaces, bring that up before work begins.
Ask What Prep Is Included In The Estimate
Two painting estimates can look similar at first glance and still include very different levels of prep. Before choosing a painter, make sure you understand what is included. A cheaper estimate may leave out repairs, primer, caulking, sanding, or a second coat.
Scraping, Sanding, And Spot Priming
Ask how loose paint will be handled. Will peeling areas be scraped? Will rough edges be sanded? Will bare wood be primed before finish coats? Will heavy chalking be addressed before painting?
These details affect the final look and the life of the paint job. You do not need to micromanage the painter, but you should know whether the estimate includes real surface prep or mainly a fast repaint.
Caulking And Minor Repairs
Ask what caulking is included and what repairs are handled by the painting crew. Trim joints, windows, doors, siding seams, and small gaps may need attention before painting. Rotted wood, damaged fascia, loose shutters, or siding repair may be priced separately.
Clear expectations help everyone. If repairs are discovered during the project, you should know how they will be discussed, approved, and completed.
Paint Brand, Product Line, And Number Of Coats
Paint quality can vary a lot, even within the same brand. Ask what product line will be used, whether primer is included where needed, and how many finish coats are part of the scope.
A quality paint product can improve color, coverage, durability, and cleanability. The best product still needs proper prep, but low-grade paint can limit the result even when the crew does good work.
Final Exterior Painting Checklist
Before your exterior painting project starts, walk through the major items one more time. Look for peeling paint, chalky siding, soft wood, cracked caulk, stained trim, dirty soffits, and places where the old paint failed first. Decide which surfaces need paint, including siding, trim, doors, shutters, garage doors, porch ceilings, railings, decks, and fences.
Choose colors in real outdoor light. Compare them to brick, stone, roofing, landscaping, and hardscaping. Check HOA rules if they apply. Move patio furniture, planters, grills, décor, and anything else that blocks access. Make sure landscaping, decks, walkways, patios, and outdoor features are protected.
Review the estimate before work begins. You should know what prep is included, what repairs are included, what products will be used, and how the schedule may shift for weather. Once those details are handled, the painting project becomes much easier to manage.
Contact Bear Mountain Custom Painting
Exterior painting does not have to feel overwhelming when the prep, repairs, colors, products, and scope are handled before the work begins. Bear Mountain Custom Painting helps homeowners throughout North Georgia and the greater Atlanta area with exterior painting, trim repair, siding painting, brick painting, limewash applications, color updates, and full-home repaint projects. From house painting services in Buford to trim repair in Woodstock, contact us for a complimentary quote and consultation.